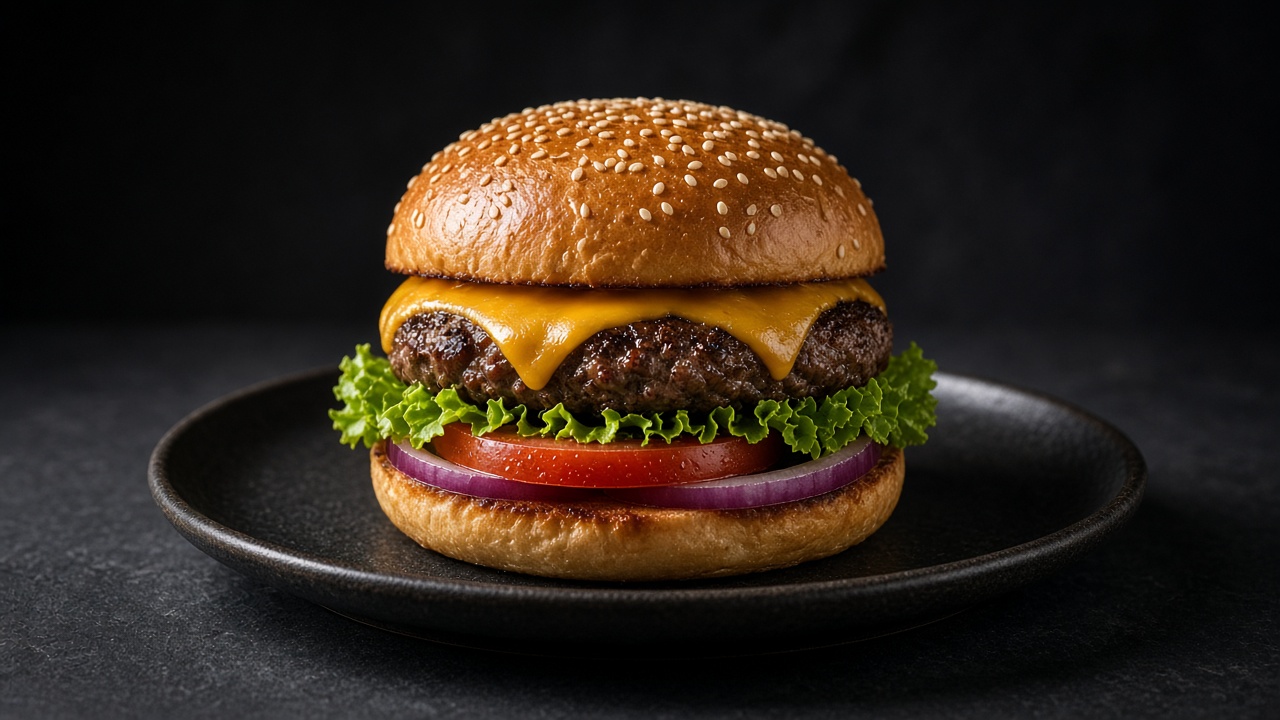
Classic Cheeseburger
Inspired by techniques from Serious Eats and America's Test Kitchen.
A no-nonsense beef cheeseburger with a deep seared crust, melted cheddar and all the classic fresh toppings, built for juice rather than fuss.
Always check the labels of the products you use.
Method
- 1
Shape the patties. Divide 600g cold beef mince into four 150g portions and shape gently into patties 11-12cm wide and about 1.5cm thick, a little wider than the bun since they shrink as they cook. Press a shallow dimple into the centre of each with your thumb so they cook flat instead of doming. Handling the mince as little as possible keeps the texture tender rather than dense.
- 2
Chill before cooking. Rest the shaped patties on a plate in the fridge for 10 minutes. This firms up the fat so each patty holds its shape in the hot pan instead of slumping, and the cold centre gives the crust time to brown deeply before the middle overcooks.
- 3
Season just before cooking. Season both sides with the salt and pepper only once the patties are ready to go in the pan. Salt left on mince dissolves some of its proteins into a sticky binder, which turns the texture springy and sausage-like instead of loose and tender. If you like, give the tomato slices a tiny pinch of salt as you build.
- 4
Toast the buns. Butter the cut sides of the buns and toast them cut-side down in the pan over medium heat for 1-2 minutes until golden, then set aside. The butter crisps the surface and stops the bread turning soggy once the juicy patty goes in.
- 5
Get the pan hot. Heat the pan over medium-high for 3 minutes, then add 1 tsp of oil. A properly hot pan is what builds a deep crust quickly, before the inside has any chance to overcook.
- 6
Sear the first side. Add the patties, 2 at a time or all 4 if your pan is 30cm, and leave them completely untouched for 4 minutes. A deep brown crust should form and the patty should release easily when nudged; this crust is where most of the flavour develops.
- 7
Flip and melt the cheese. Flip each patty just once and cook for a further 3 minutes, adding a slice of cheese for the final 1-1.5 minutes. Cover with a lid or an upturned bowl so the trapped heat melts it evenly. The patties are ready at 71°C in the centre, checked through the side, with clear juices.
- 8
Rest briefly. Lift the patties onto the toasted bun bases and leave for 2 minutes before building. This short pause lets the cheese set slightly so the stack holds together when you build it.
- 9
Build the burger. Spread ketchup on the bottom bun, then layer lettuce, tomato slices, the cheese-topped patty, red onion rings and pickles, finishing with mustard on the top bun. Building in this order keeps the crisp lettuce next to the bread so it stays fresh rather than going soggy.
Storage
Cooked patties keep in a covered container in the fridge for up to 2 days, or frozen without buns or toppings for up to 2 months. Reheat gently until piping hot and reaching 74°C all the way through before eating. Cool leftovers in a shallow container and refrigerate within 2 hours (within 1 hour on a day above 32°C).
Equipment
- large heavy frying pan or cast-iron skillet (at least 26 cm)
- lid or large upturned heatproof bowl
- metal spatula
- instant-read thermometer
Nutrition per serving (estimated values)
| Per serving | Amount |
|---|---|
| Energy | 687 kcal |
| Protein | 37.4 g |
| Carbohydrate | 36.6 g |
| of which sugars | 8.3 g |
| of which free sugars | 6.5 g |
| Fat | 42.7 g |
| of which saturates | 17.2 g |
| Fibre | 2.2 g |
| Salt | 2.9 g |
Protein per 100 kcal
5.4 g High Protein needs ≥ 10 g
Calculated from USDA FoodData Central ingredient values