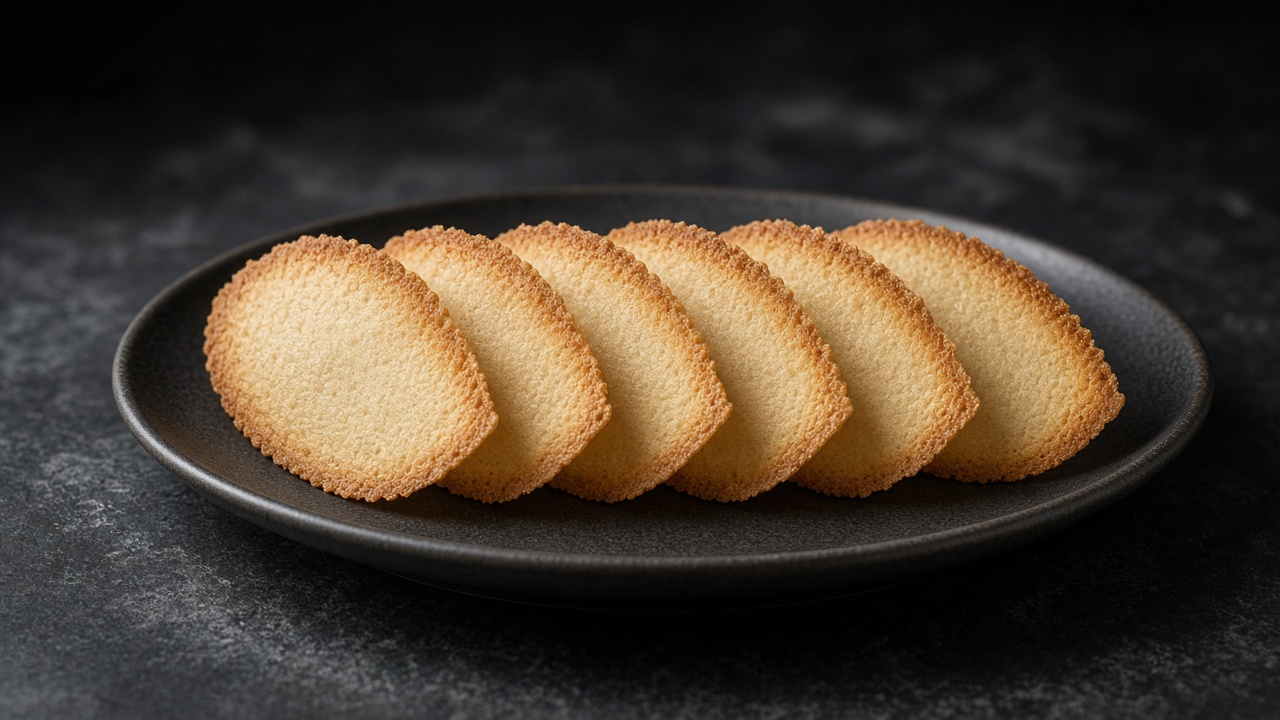
Almond Tuiles
Inspired by techniques from King Arthur Baking and NYT Cooking.
Thin, crisp almond biscuits spread into rounds and curved into a classic tile shape while hot, giving a delicate, snap-in-the-mouth finish.
Always check the labels of the products you use.
Method
- 1
Mix the batter. Whisk the icing sugar, flour and salt together, then whisk in the egg whites until smooth. Beat in the melted butter and vanilla to make a smooth, pourable batter; whisking in stages like this stops lumps forming in the flour.
- 2
Rest in the fridge. Cover the batter and chill for 1-2 hours. A rested batter spreads more evenly in the oven and bakes up crisper, since the flour has time to fully hydrate.
- 3
Heat the oven. Towards the end of the chilling time, heat the oven to 190°C (170°C fan) for at least 20 minutes. A fully heated oven is essential here, as these thin biscuits need a quick, even blast of heat to crisp without burning.
- 4
Spread thin rounds. Spread 1 level tablespoon of batter very thinly into a 10cm circle, using the stencil as a guide if you have one, and bake only 3-4 at a time. Scatter each with a few flaked almonds; spreading thinly matters, as any thick patches will stay soft in the middle.
- 5
Bake to golden edges. Bake for 5-7 minutes, until the edges are golden brown and the centre is just pale golden. The darker rim and paler middle show the sugar at the edge has caramelised while the centre stays delicate.
- 6
Shape while hot. Working quickly, lift each tuile with the offset spatula and drape it over the rolling pin to curve. They set into shape in about a minute, so speed matters; if they firm up before shaping, slide the tray back into the oven for 30 seconds to soften again.
- 7
Cool completely. Leave the shaped tuiles to cool fully before stacking or storing, as they are fragile and still slightly flexible while warm. Once cold, they turn glass-crisp.
Storage
Store in an airtight container at room temperature for up to 3 days, with baking paper between layers to protect the curved shape. They don't freeze well once baked, as they lose their crispness on thawing.
Equipment
- 2 large metal baking trays lined with baking paper or silicone mats
- thin plastic stencil with a 10 cm circle (cut from a lid), optional
- offset spatula
- rolling pin for shaping
- wire rack
Nutrition per serving (estimated values)
| Per serving | Amount |
|---|---|
| Energy | 67 kcal |
| Protein | 1.1 g |
| Carbohydrate | 7.3 g |
| of which sugars | 4.2 g |
| of which free sugars | 4.1 g |
| Fat | 3.7 g |
| of which saturates | 2 g |
| Fibre | 0.3 g |
| Salt | 0.03 g |
Protein per 100 kcal
1.6 g High Protein needs ≥ 10 g
Calculated from USDA FoodData Central ingredient values